Setting up an 433Mhz Stick
Introduction
This guide will help you to set up an 433Mhz Stick to read (your) 433Mhz devices.
But WHY should you do this?
It is especially useful if you want many cheap and energy efficient sensors for your home automation. I was able to get the antenna/stick for about 20€ on AliExpress and a cheap window sensor for about 3€. And there are also a lot of other sensors available for 433Mhz. A nice side effect is that many cheaper weather stations also use 433Mhz, so you can also get the readings from your neighbors and not have to buy your own.😉
Hardware
I used the following hardware:
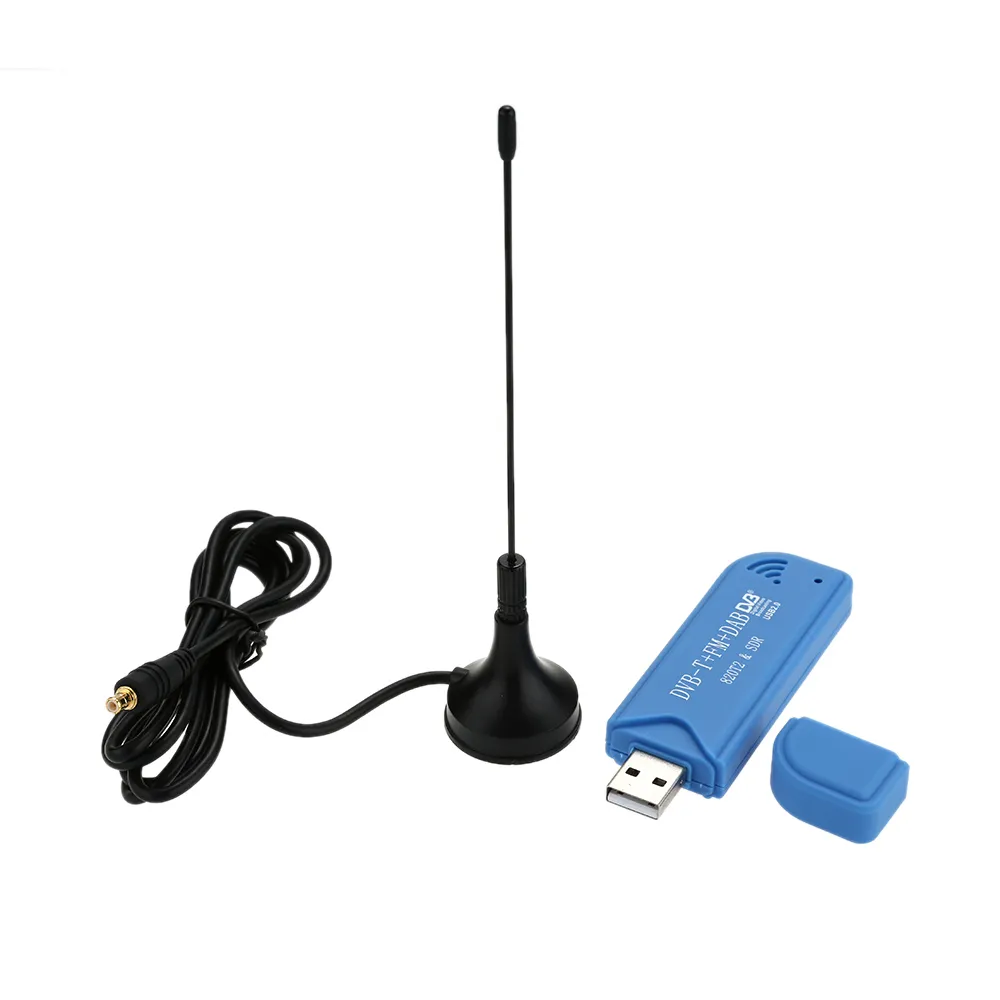
- 433Mhz Stick (Aliexpress)
- Neighbors weather station😄
Installation
Container
First I created a new container for the 433Mhz Stick.
Container Resources
In my deployment this setup actively uses following resources:
- < 1 CPU Core (~ 0.5% of a core)
- 20 MB RAM
- 1 GB Disk Space
FYI: On this container only runs the 433Mhz Stick software. The interpretation of the data is done on another container.
Than I passed through the USB device to the container.
Software
I used the rtl_433 software to read the data from the 433Mhz Stick.
| Bash | |
|---|---|
Usage
Start
To start the software use:
| Bash | |
|---|---|
CTRL+C.
Run in Background
To run the software in the background and automatically publish everything to a MQTT broker I use the following script:
| Bash | |
|---|---|
apt-get install mosquitto-clients.
I saved it under /root/startup.sh and made it executable with chmod +x /root/startup.sh.
Than I added it to the crontab with crontab -e and added the following lines:
Data Interpretation
I use Node-Red to interpret the data. I just use the MQTT node to subscribe to the topic and then use the JSON node to parse the data. The data is then saved to an InfluxDB and displayed in Grafana. It is also used to be displayed on my HomeAssistant.